Figma to React: How to get clean React components in Figma
Anima instantly converts Figma components into React components inside Figma. Here’s a step-by-step guide.
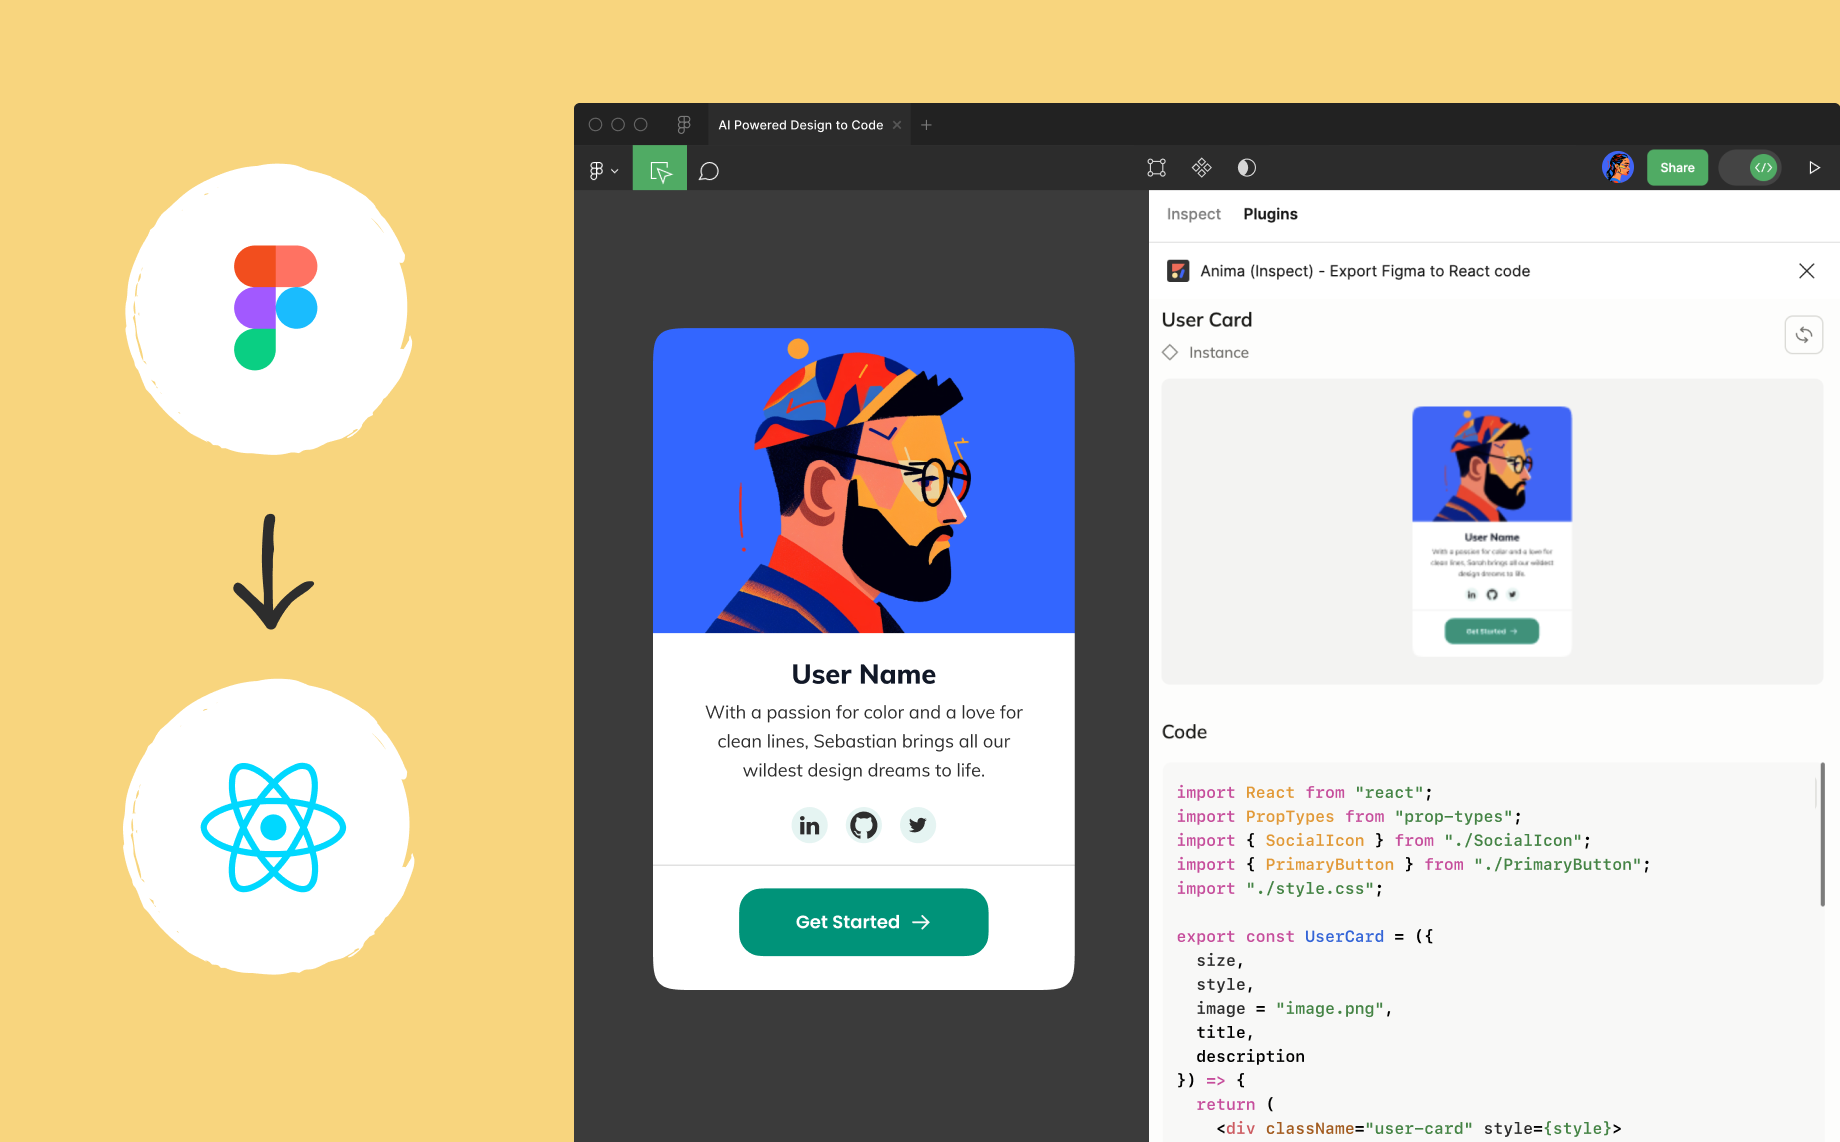
If you’re wondering how to convert Figma to React, you’ve come to the right place. In this article, we’ll show you how to instantly turn Figma components into clean, boilerplate React components—inside Figma—using Anima.
Anima is an official Figma partner, and our code generation AI is natively integrated into Figma’s new Dev Mode Panel. With Anima for Figma‘s Dev Mode, you can generate efficient, readable, maintainable code for any Figma component or screen in real time.
Here’s what you can expect from Anima’s code:
- Functional React + TypeScript/JavaScript with sub-component support that can run instantly.
- Stateful and interactive React components based on Figma variants and props.
- Responsive CSS flex based on Figma Auto Layout.
- Styling of your choice: classic CSS, Styled Components, Tailwind CSS, and soon CSS modules
👉 For a limited time, generating, copying, and downloading Anima’s React code inside Figma Dev Mode is free. Read more about Anima’s partnership with Figma here. 👈
Let’s get to it!
How to convert Figma designs to React code with Anima
Anima gives you two ways to generate React from Figma designs:
- React code for individual components (available with read-only access in Figma):
- The most efficient, accessible option for developers that want reusable React components.
- Turn Figma components into React components (JSX or TSX) inside Figma Dev Mode.
- Instantly generate, inspect, and copy code for your selected component, as well as its individual sub-components.
- Download a complete code package or open in CodeSandbox in one click.
- React code for entire screens and full flows (requires edit access in Figma):
- The best option for React-backed prototypes and MVPs.
- Sync Figma screens and full flows to Anima’s web app.
- Export React (JSX or TSX) for your synced selection, with support for breakpoints and Figma links between pages.
- Requires external syncing and code processing. **
Option 1: Generate React code for individual components and screens
Step 1: Switch to Dev Mode using the toggle on top of Figma’s Inspect panel, then select the ‘Plugins’ tab.
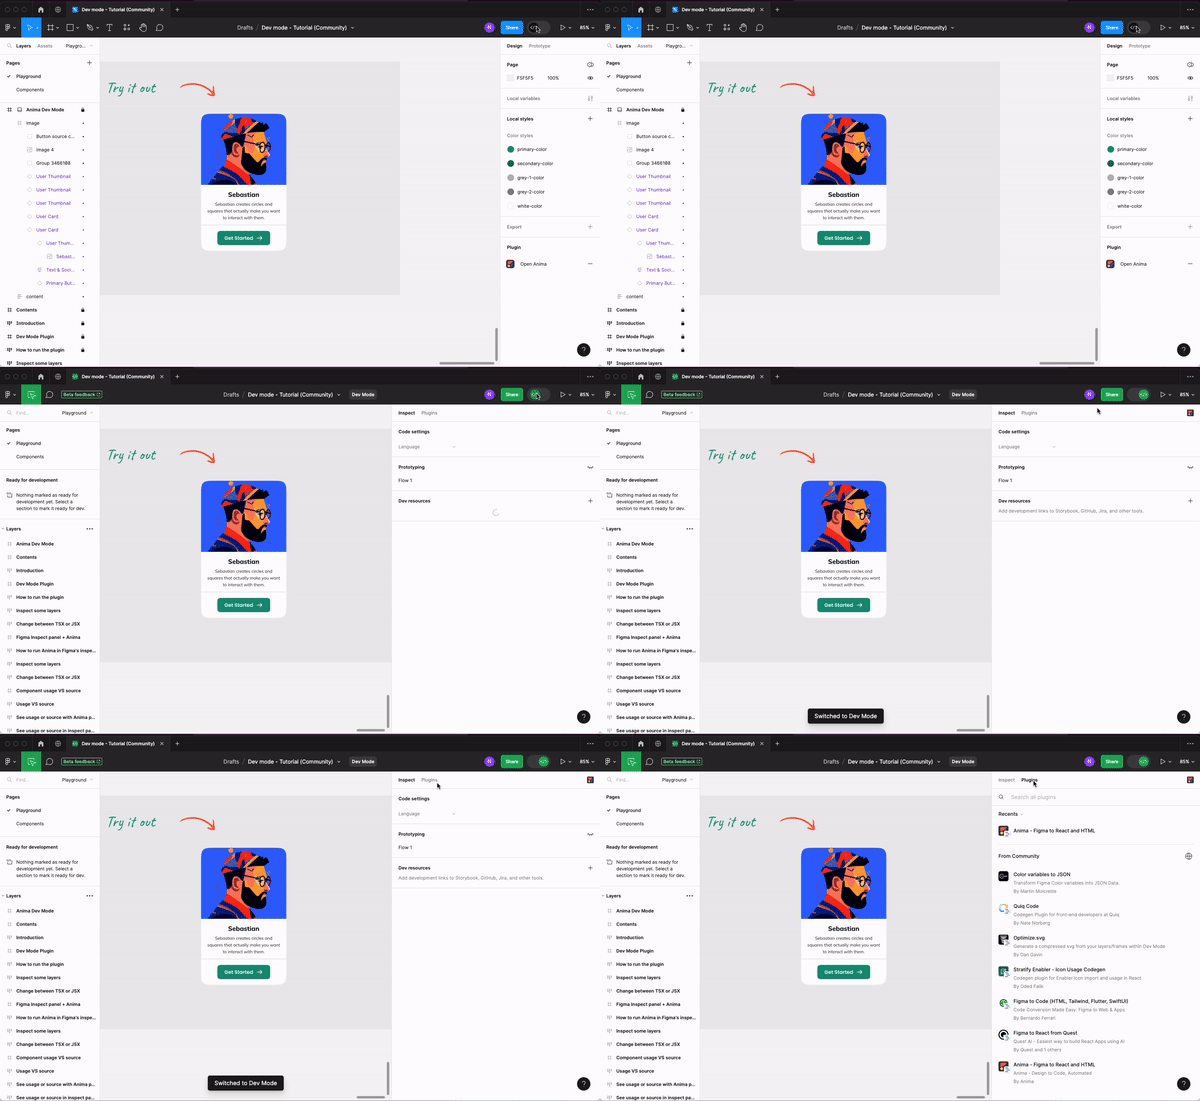
Step 2: Run the Anima plugin for Dev Mode (if you don’t see it on the list, enter ‘Anima’ in the search field).
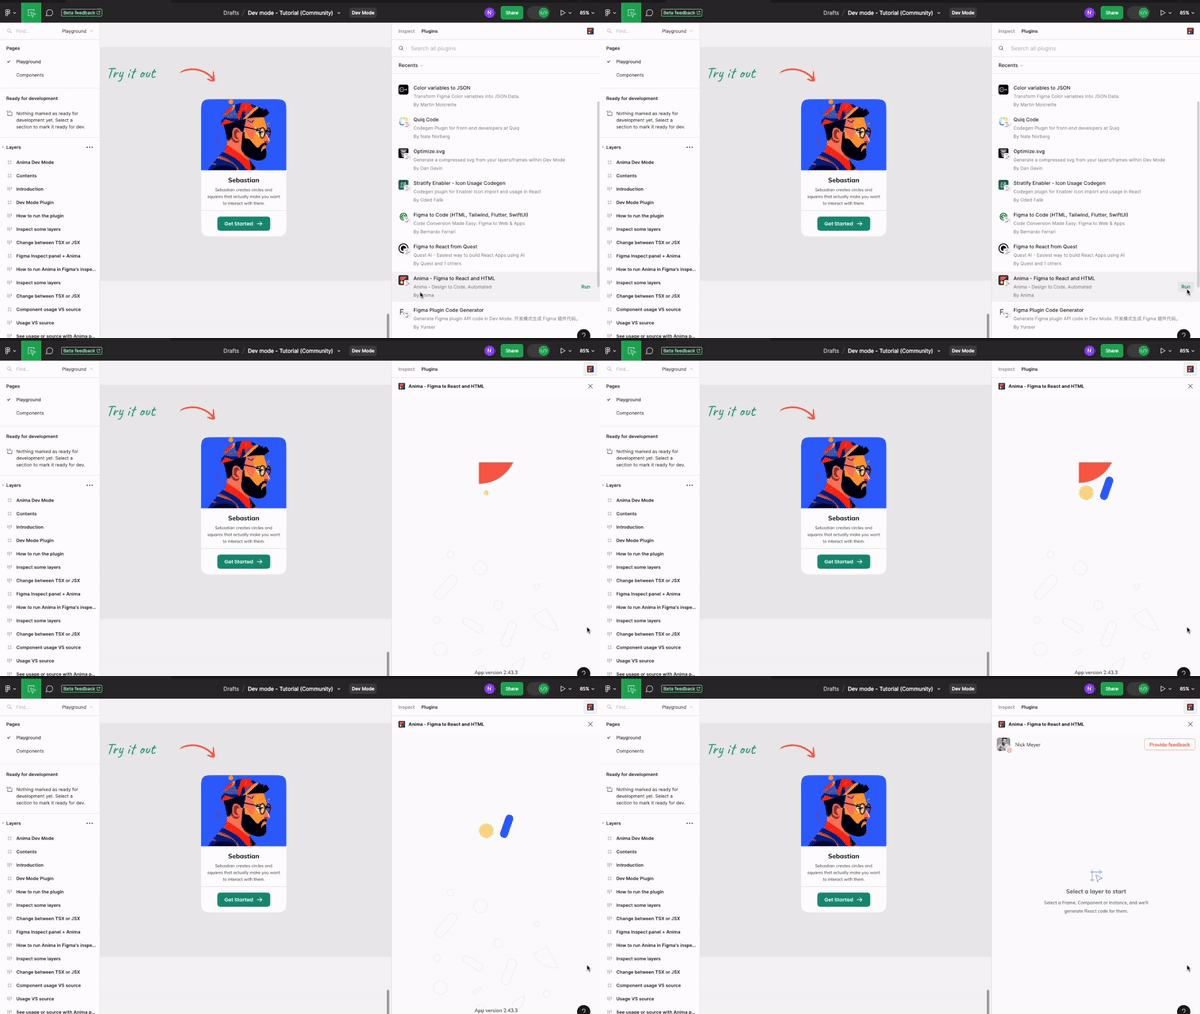
Step 3: Select any Figma component, layer, or frame.
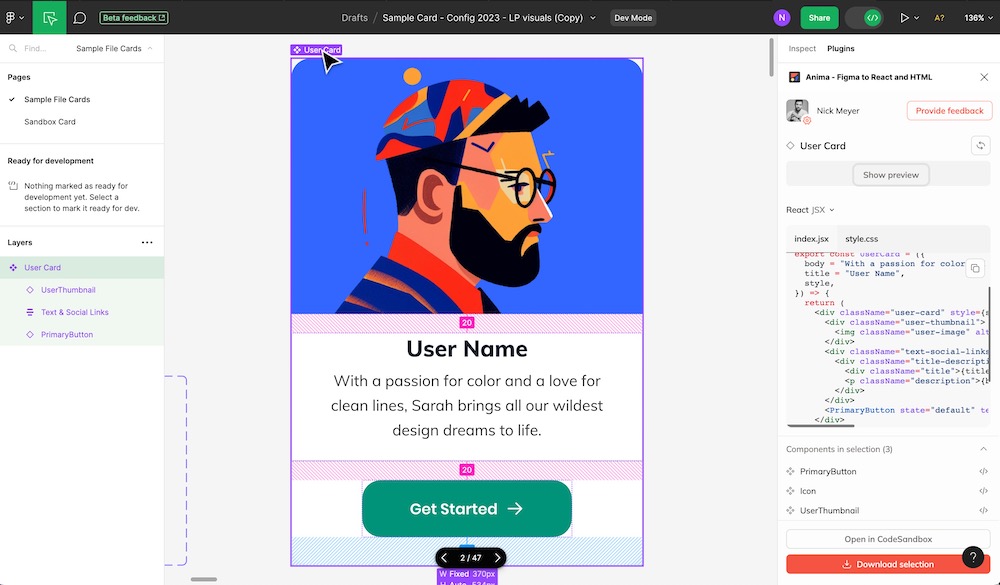
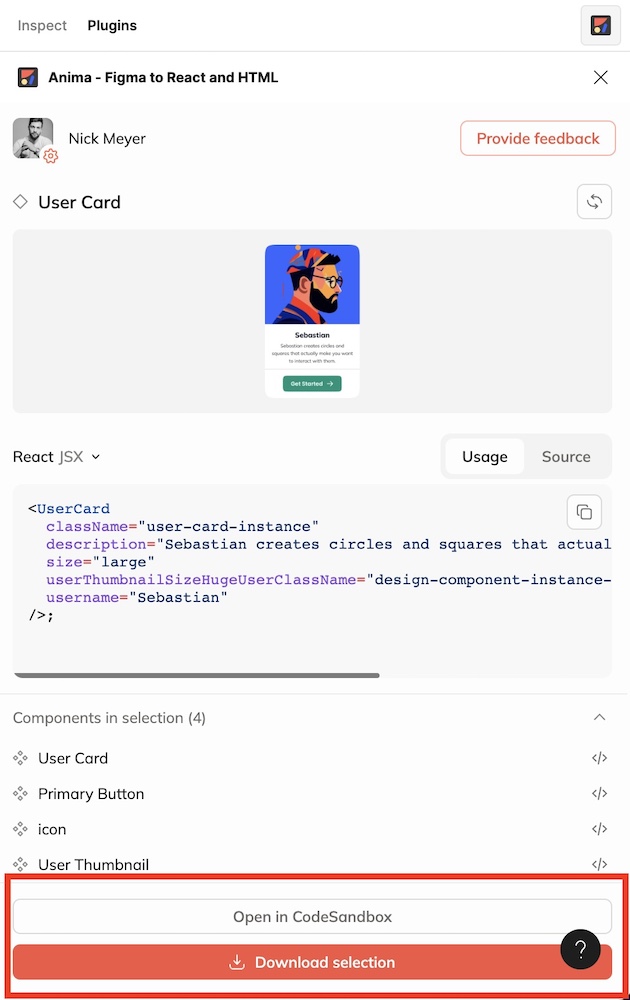
Step 4: In the right panel, you will get runnable React and CSS code. You can use the toggle to switch to Tailwind or to Styled Components.
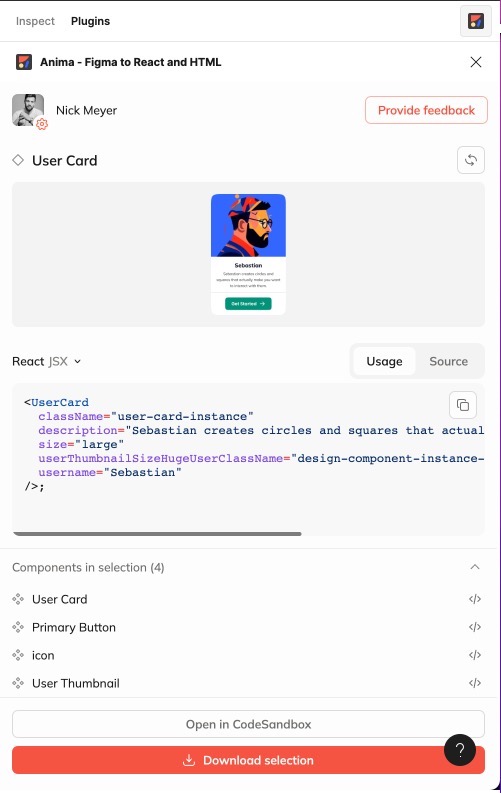
You can easily toggle between the selected instance of your component (‘Usage’), and its full definition (‘Source’), which includes all variants and subcomponents.
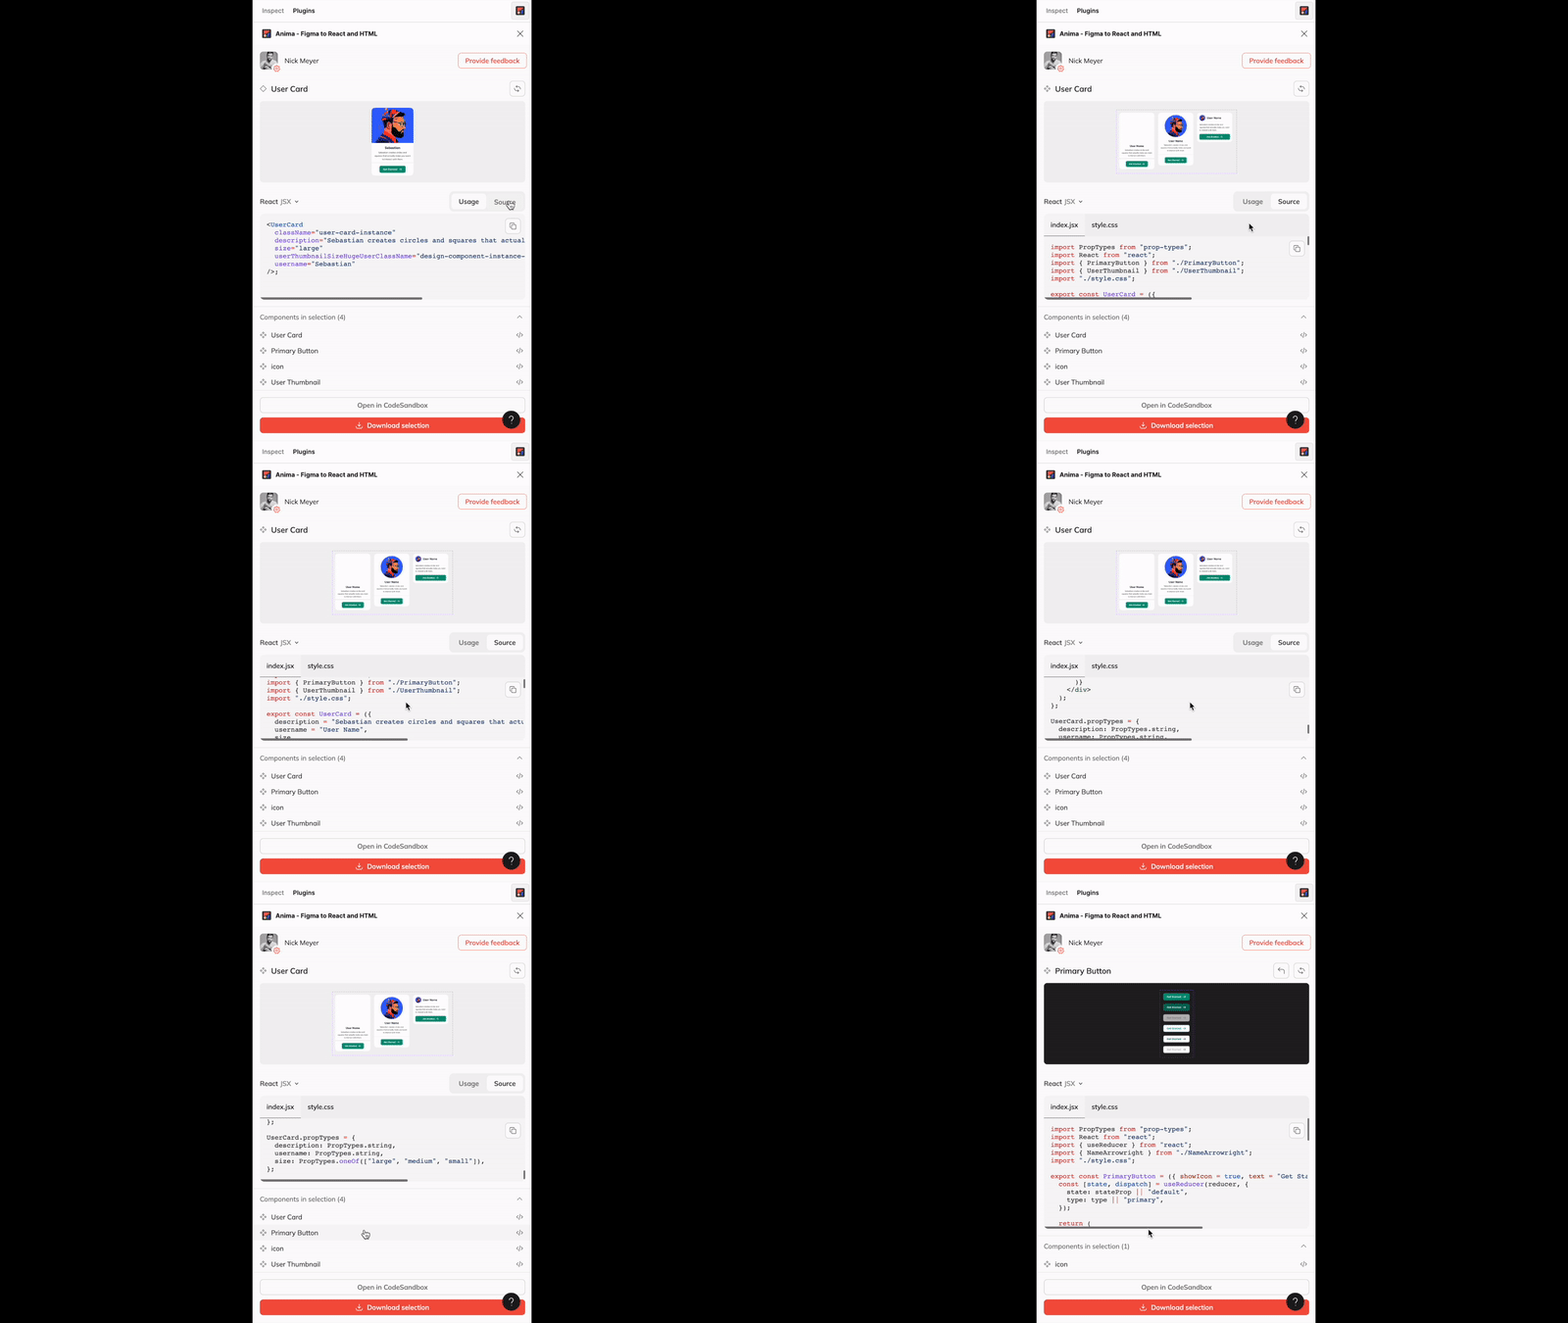
You can also switch between JSX and TSX using the dropdown above the code window.
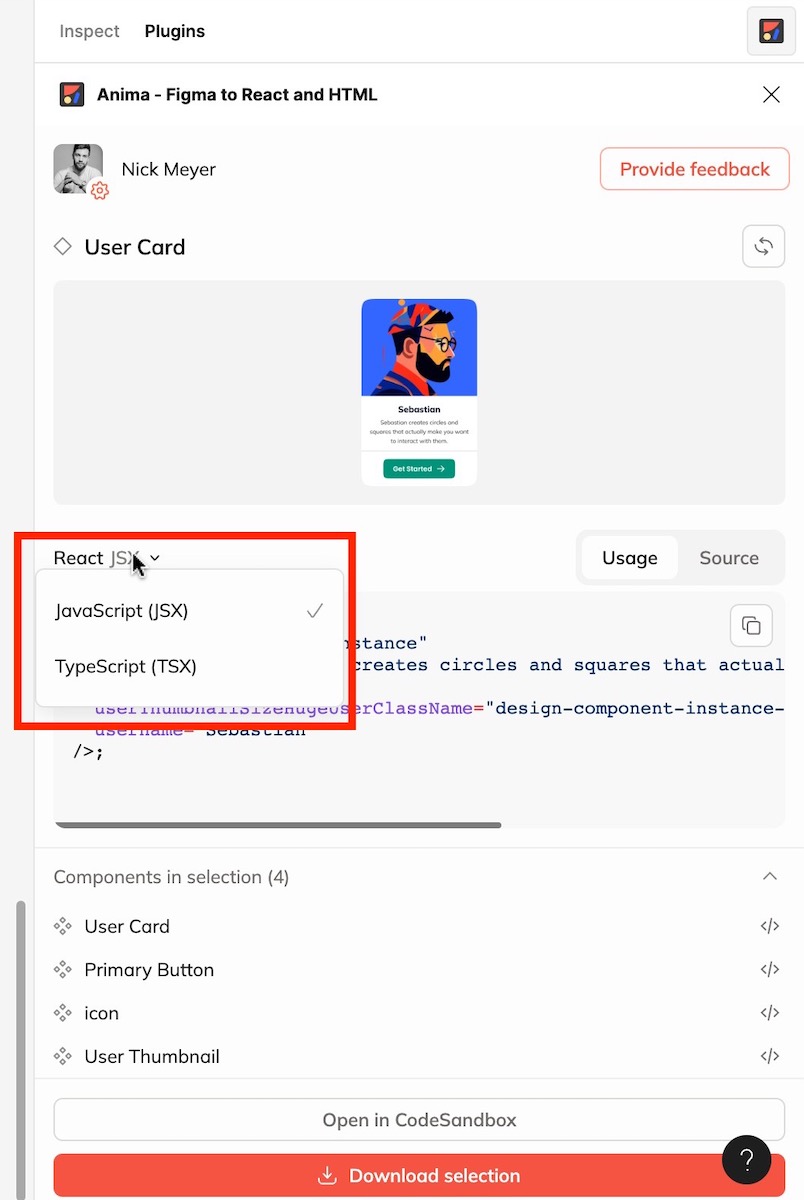
Step 5: Click ‘Download selection’ for a zip file with all of your code or click ‘Open in CodeSandbox’ to run it instantly.
Here it is in CodeSandbox👇
Option 2: Generate React code for full flows
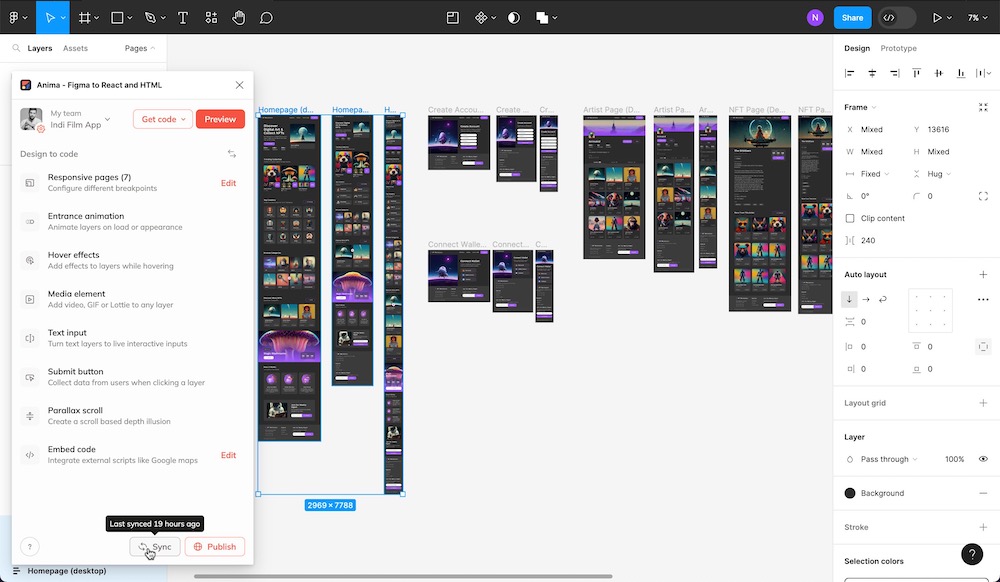
Step 1: Open the Anima plugin in Figma
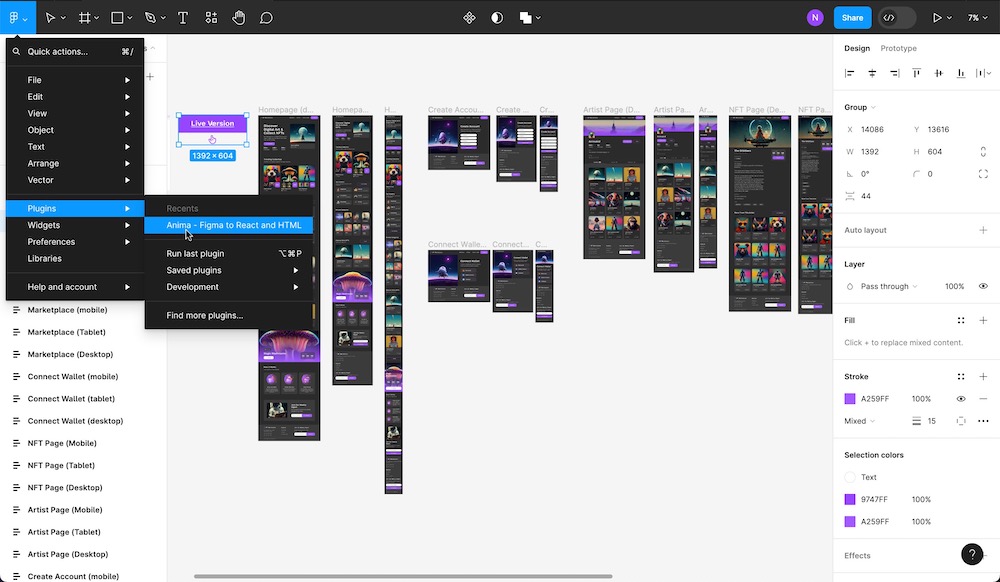
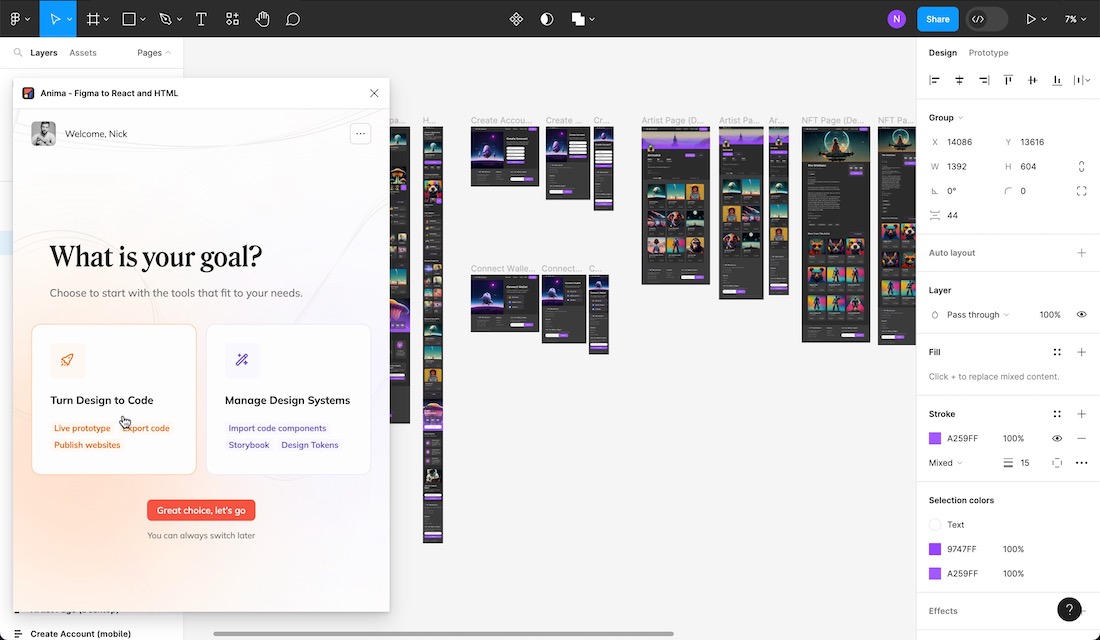
Step 2: Select the ‘Turn Design to Code’ option.
Step 3: Select the Figma components, screens, or flows you’d like to convert to React.
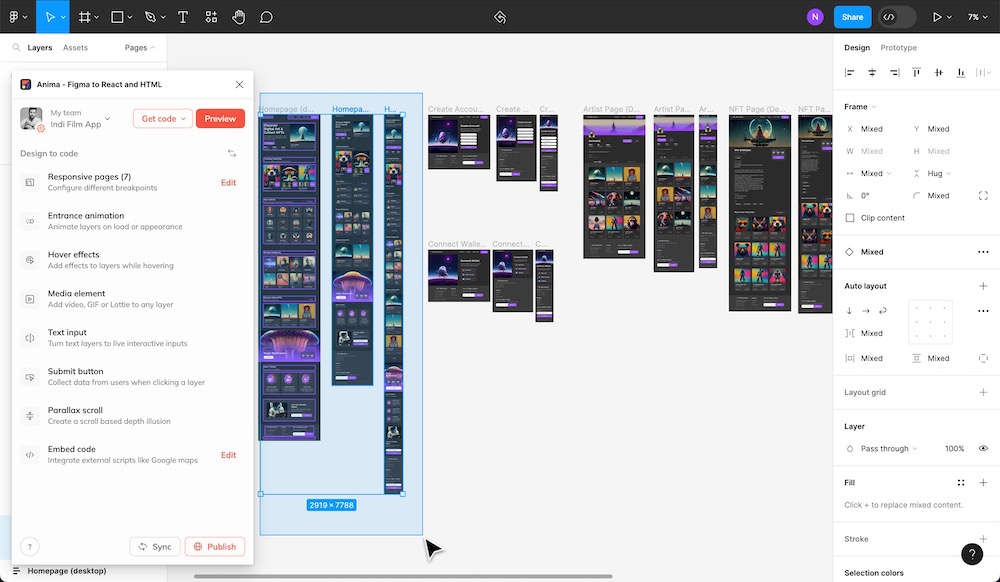
With this option, Anima will connect the different screen sizes that you defined with breakpoints, and convert them into media queries to produce responsive React code from any Figma design.
Step 4: Click the ‘Sync’ button at the bottom of the plugin.
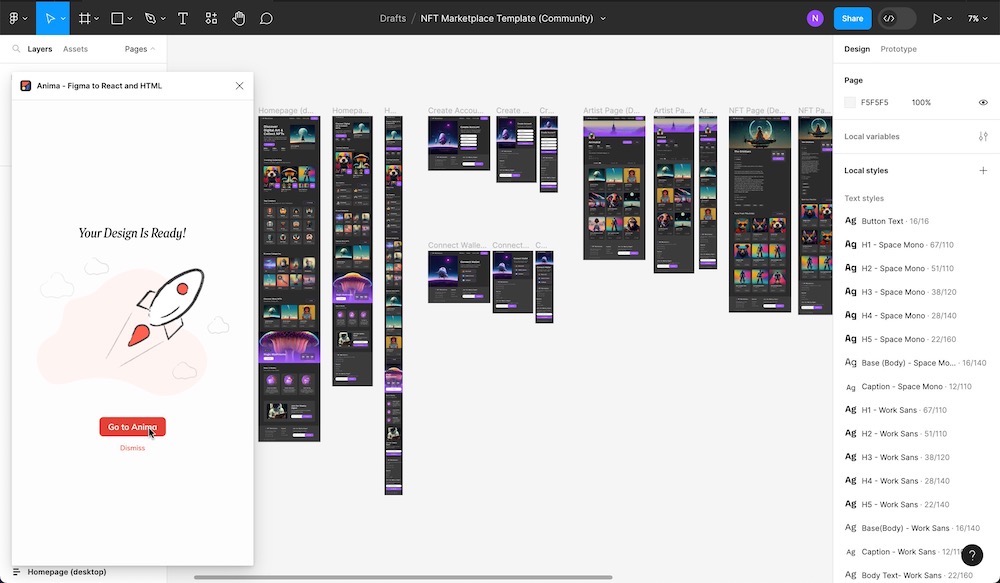
Step 5: Click ‘Go to Anima’ when syncing is complete.
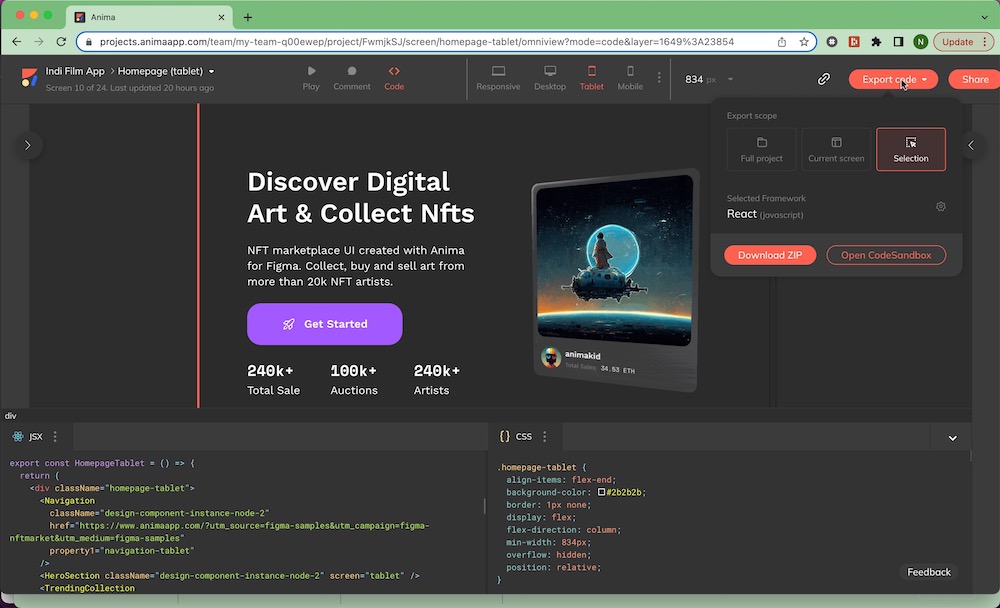
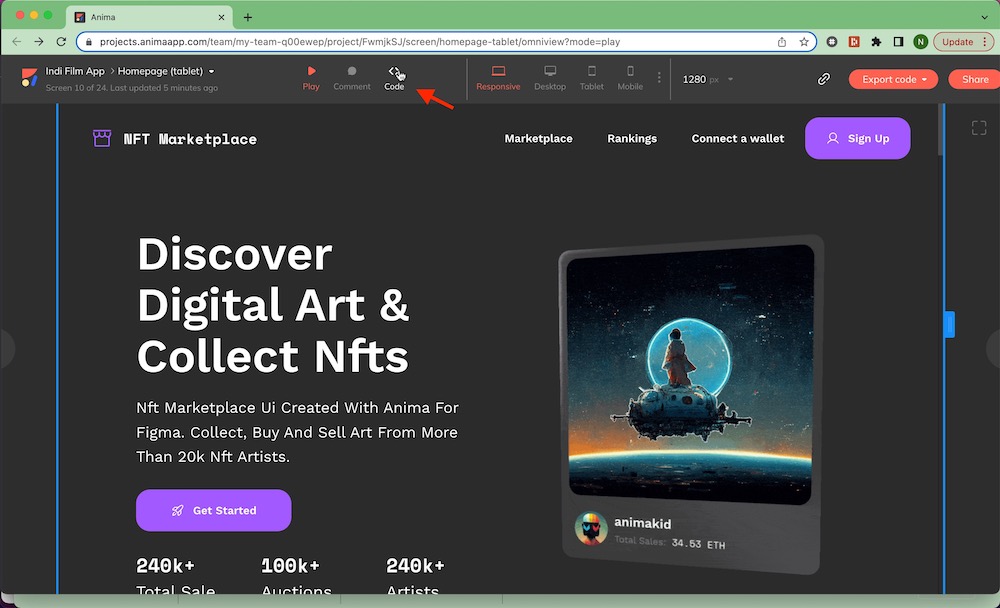
Step 6: You’ll be directed to your project in Anima’s web app, where you’ll select the ‘<> Code’ icon to switch to code mode.
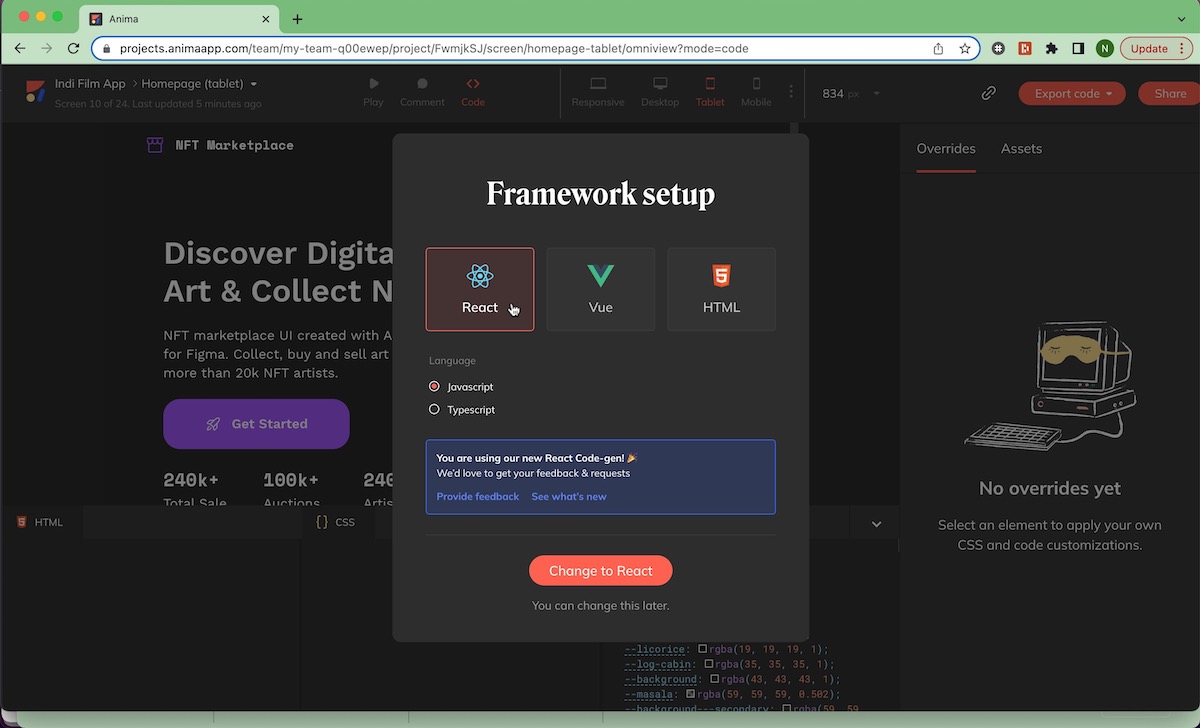
Step 7: Select ‘React’ from the framework options, choose either ‘Javascript’ or ‘Typescript,’ and click ‘Change to React.’
Step 8: Click the ‘Export Code’ button at the top right of the screen, where you can download a zip file of your code package for a specific selection, screen, or entire project.
.
